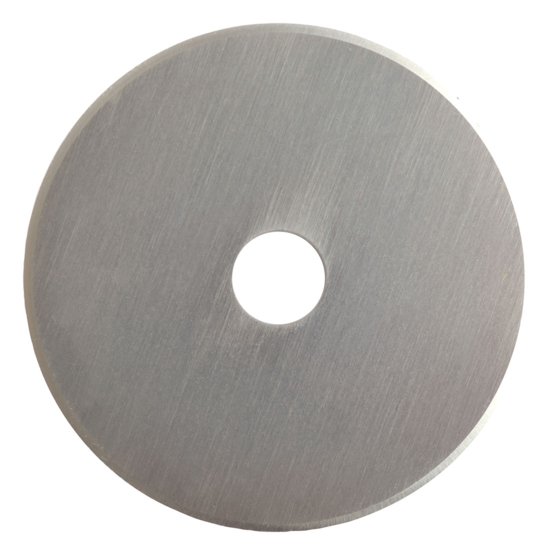
Replacing Blades > When replacing the blade, take the rotary cutter apart and reassemble in the same sequence. Be sure the new blade is on the side of the cutter that is nearest to the cutting line. Do not overtighten the knurled nut on your cutter when reassembling. This will slow the blade and make cutting much harder. The blade should turn easily and slice through fabric with little resistance. After reassembling your cutter, make a few test cuts to make sure the blade is working properly and to remove any oil left on the blade edge. Don't throw away your dull blades, save them for cutting batting, paper or craft projects.
Safety > Always disengage the blade and put it back into housing between each and every cut. Always cut away from your body and away from extra material on the table. Always keep arms, finger and hands away from cutting edge. Always use a cutting mat on a flat surface. For straight cutting, enhanced accuracy and safety, use a ruler.
Cleaning of blades > Carefully remove blade from housing of rotary cutter. Place rotary cutter on flat surface. Hold steady with forefinger on center of blade. With paper towel in opposite hand, gently wipe blade. Always wipe away from center past the outside edge of blade. Wiping from the outside to the center could result in injury. To remove sticky substances from blades, hold in center of blade with forefinger and thumb. Immerse blade in hot, soapy water. Rinse with hot water. Place between two pieces of paper towel on flat surface and gently pat dry.

